Crack Categories and Their Repairs
Wall Crack Repair are categorized based on their type. Cracks in walls can appear for various reasons, and these reasons can vary for different types of cracks.

Hairline Cracks:
Sometimes, very fine cracks resembling hairlines or spider webs can appear on walls. There is generally no need to be overly concerned about these cracks. They often appear due to excessive use of cement.
Small to Medium Cracks:
These cracks can potentially cause damage to the building. Typically, these cracks are seen when there is an issue with the building’s structure. It is advisable to have these cracks repaired by an experienced engineer as soon as possible.
Large Cracks:
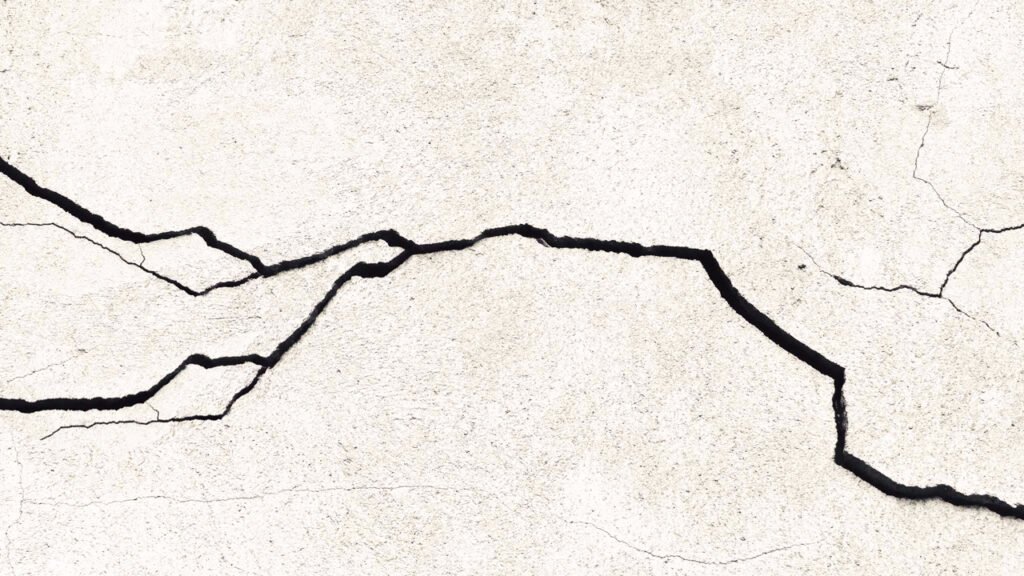
Large cracks are the most dangerous as they can lead to accidents at any time. If large cracks appear, it indicates that the building is at risk. The cause of these cracks should be investigated immediately, and repairs should be made if the building is found to be repairable.

Cracks in walls are categorized based on their type, and repairs are carried out according to these categories. Here are the steps for repairing wall cracks:
Step 1: Widen the Crack
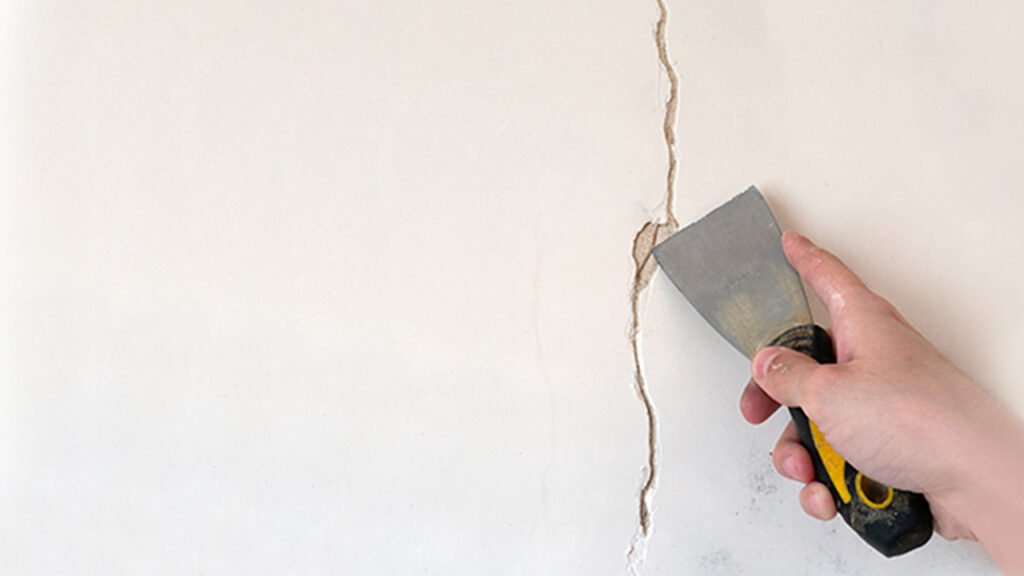
First, closely examine the crack and widen it. Check if there is any debris inside the crack or investigate the cause of the crack. Use a sharp or pointed tool to enlarge the crack to approximately 0.64 cm (1/4 inch).
Step 2: Clean the Crack
After widening the crack, thoroughly check it for any accumulated debris. Determine the cause of the crack and check if it is related to the building’s main structure. If the crack is related to the structure, consult an experienced engineer.
Step 3: Fill the Crack
Based on the type of crack, various chemicals are available in the market for repair. Choose the appropriate chemical for your crack. It is better to use chemicals along with cement and sand rather than just using cement and sand. Using chemicals for crack repair is the most effective approach. Here are some chemical options available in the market:
- Selleys No More Gaps
- Selleys No More Gaps Coloured Caulk
- Selleys Wall Putty
- Selleys No More Big Gaps
Step 4: Sand and Smooth
Once the filler is completely dry, sand it smooth with fine-grit sandpaper. Be sure to feather the edges so it blends seamlessly with the surrounding wall.
Step 5: Prime and Paint
Prime the Area: Apply a primer to the repaired area if needed, especially if you used a filler that might absorb paint differently than the surrounding wall.
Paint: Once the primer is dry, paint over the repaired area with the same color as the rest of the wall. You might need to apply more than one coat for a uniform finish.
Step 6: Address Underlying Issues (Wall Crack Repair )
If cracks reappear or if you have large, persistent cracks, it might indicate underlying issues with the structure of your home. In such cases, it’s wise to consult a professional to assess and address any potential problems with your foundation or framing.
Gather Materials:
- Spackling paste or joint compound (for small cracks)
- Crack filler or caulk (for larger cracks)
- Sandpaper
- Primer and paint
- Putty knife
- Paintbrush or roller
- (Optional) Mesh tape or fiberglass tape
Different Types of Wall Cracks
- Hairline Cracks
- Vertical Cracks
- Horizontal Cracks
- Diagonal Cracks
- Stair-Step Cracks
When Should I Call a Professional about My Cracked Wall?
Knowing when to call a professional for cracked walls is crucial for maintaining the safety and integrity of your home.
- Large or Widening Cracks (Wider than 1/10 inch)
- Horizontal, diagonal, or stair-step crack
- Multiple Cracks
- Water Damage
- The crack is wider on one side
- Foundation Issues
In conclusion, Wall Crack Repair treatment of cracks depends on their type and category. We hope you will be able to select the appropriate treatment based on the type of crack.
House Design : https://dreamhomebd.com/house-design/


